Dynamics 365 Business Central
In this guide, you will find the step-by-step instructions to create the API connection in ERP Dynamics 365 Business Central using the Microsoft Azure Entra service.

API Connection for Business Central
To connect to the API, you need to use a service called ENTRA, which allows login spaces to be opened between your applications. The ENTRA service is a tool for managing identities and access in Microsoft.
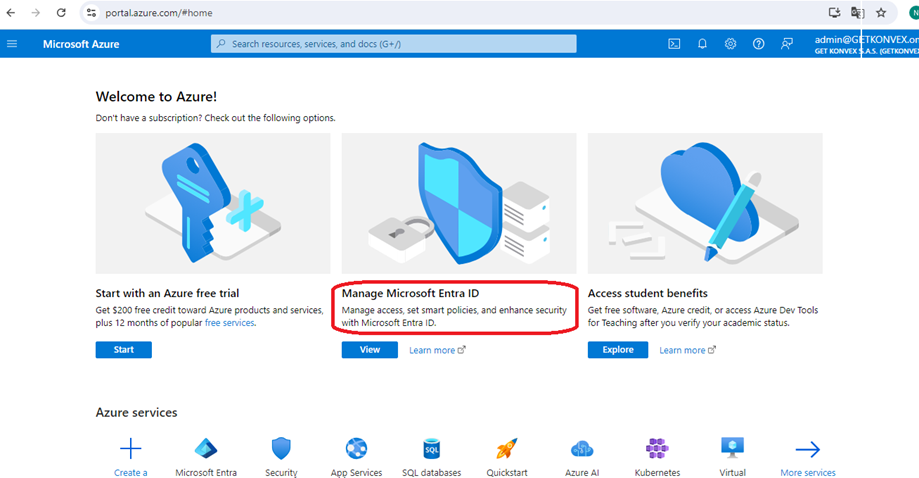
- Go to https://portal.azure.com/#home
- Click on "Manage Microsoft Entra ID" (View)
- Go to APP Registration and select New Registration.

- The user-facing display name for this application (this can be changed later).
- Select Accounts in any organizational directory (Any Microsoft Entra ID tenant - Multitenant).
- Enter the desired name for the registration.

Enter the service provider URL for Business Central that each client has:
https://businesscentral.dynamics.com/OAuthLanding.htm
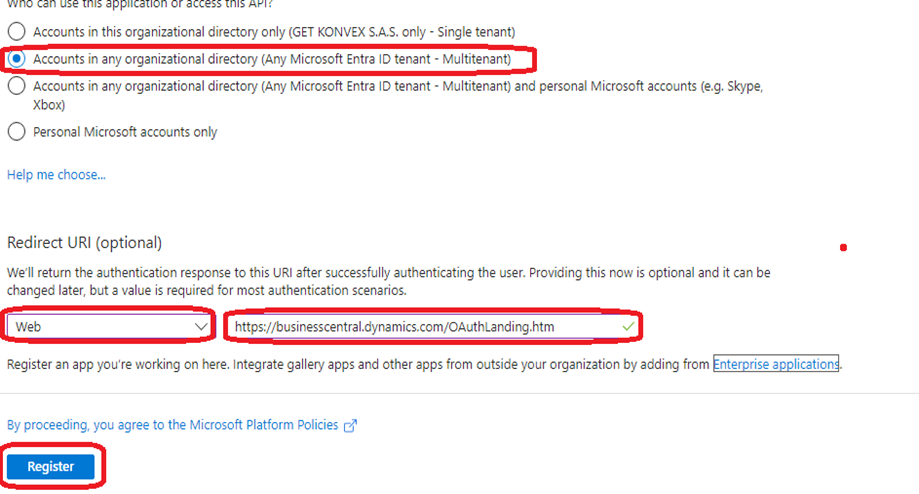
Click the Register button.
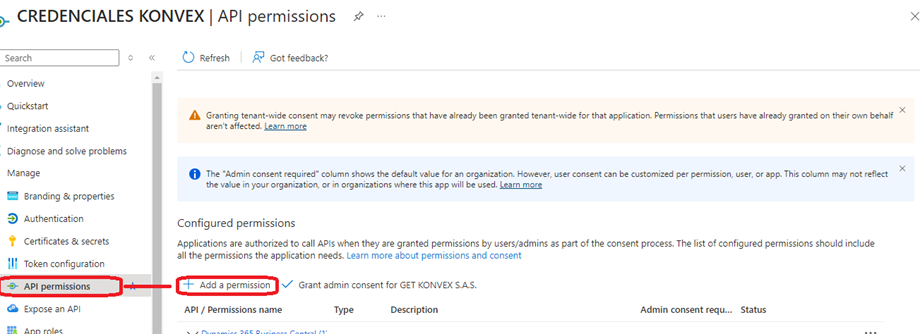
- Apply API permissions
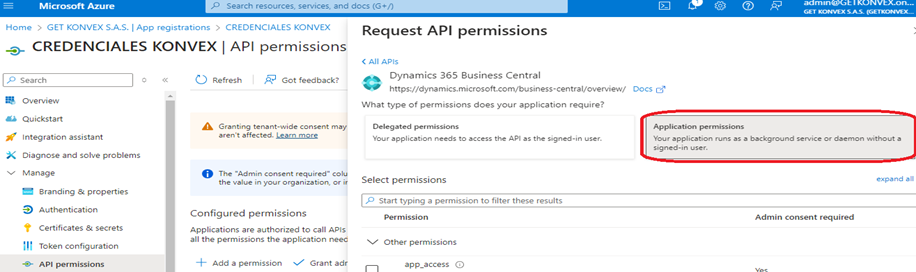
In the side menu, go to Manage – API permissions and add a new permission by clicking + Add Permission.
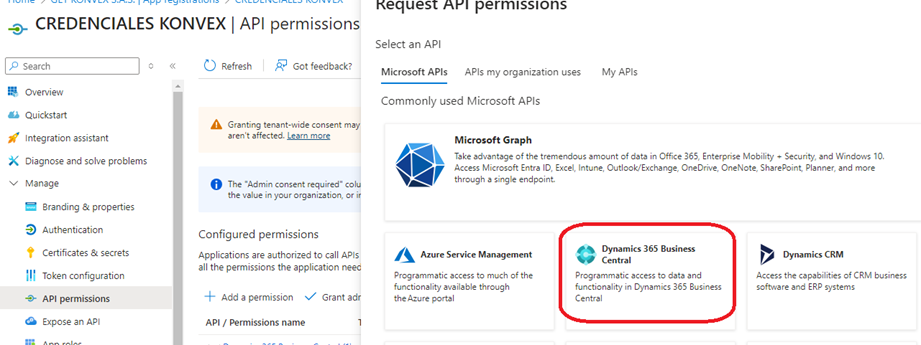
- Select the option that indicates Dynamics 365 Business Central.
- Select the option that indicates Application permissions.
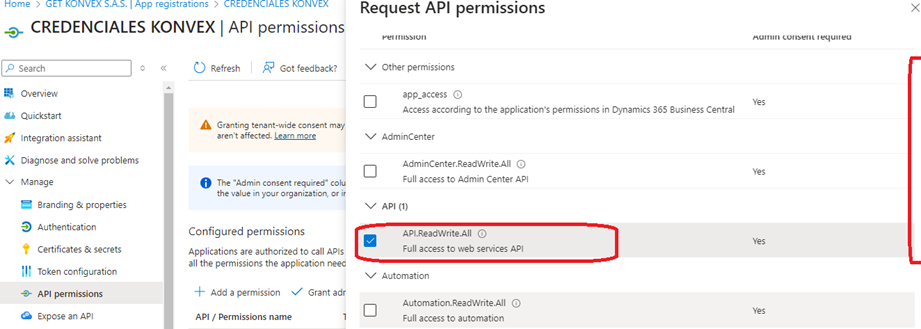
- Scroll down using the right-hand scrollbar and find the option that indicates API.ReadWrite.All (Full Access to web Services API), then select it.
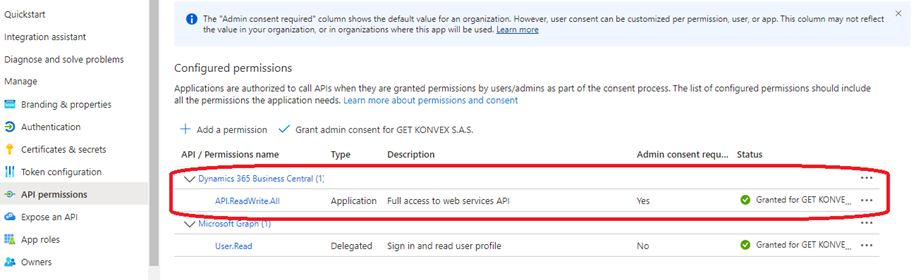
- Verify that the permissions have been granted.
-
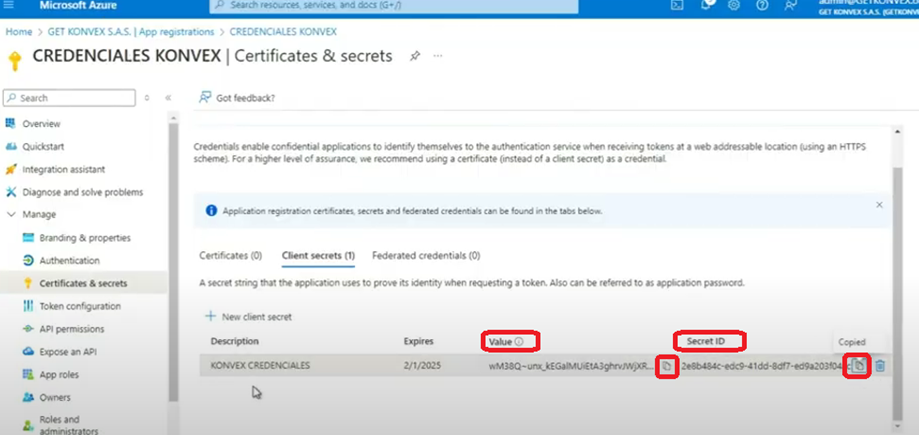
Navigate to Certificates & Secrets.
-
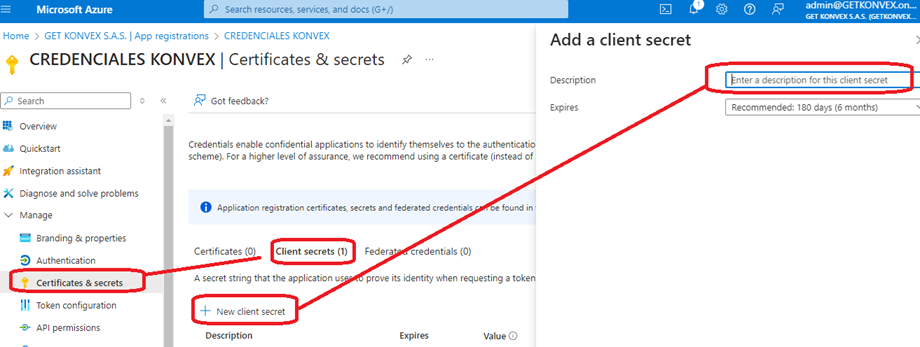
In Client secrets, click New client secret.
- Description: Enter the desired description name.
- After the secret is created, copy the information from the Value and Secret ID fields and save it in a text file or notes for future reference.
-
This is done only once.
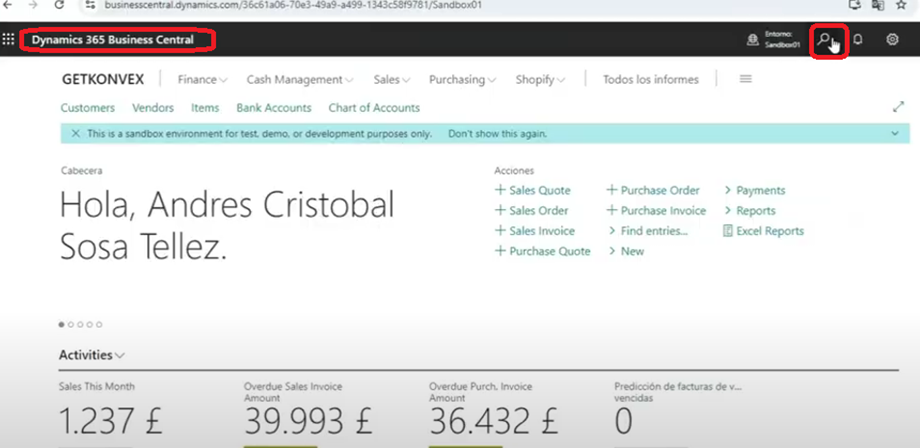
- Now, go to Dynamics 365 Business Central and use the search option or magnifying glass icon to find what you need.
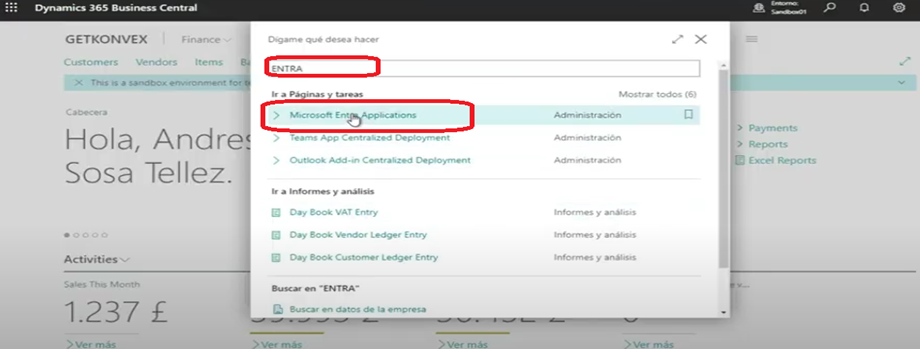
- Type ENTRA in the search field and select the option that indicates Microsoft Entra Applications.
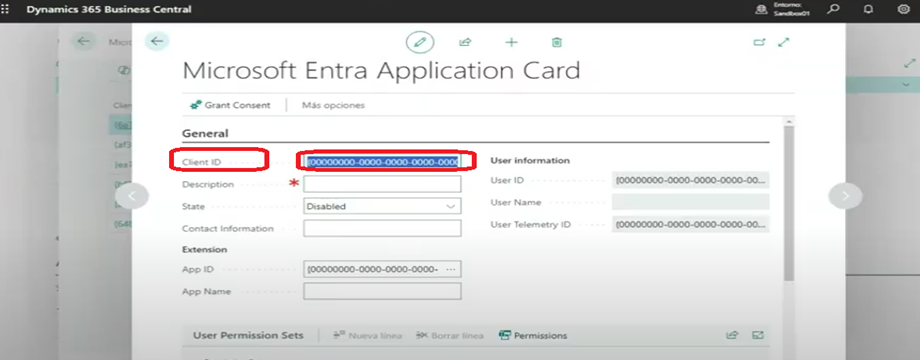
- Go to the option that indicates New to create the connection.
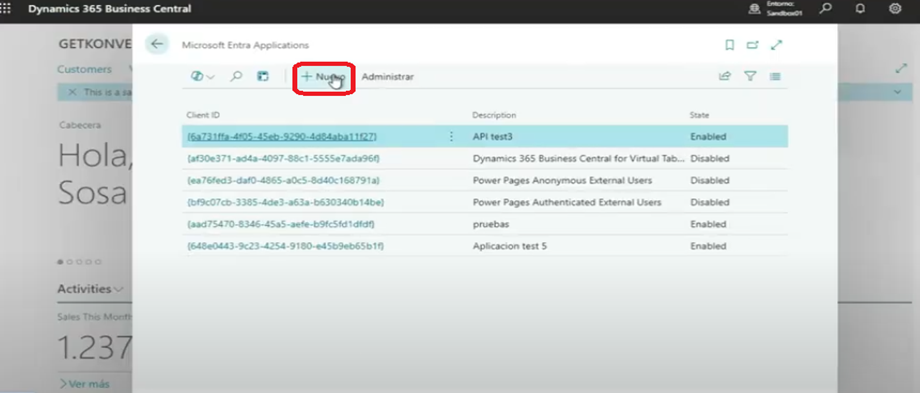
- You need to register the Client ID.
-
Go back to Azure, navigate to the Overview section, and copy the Application (client) ID.
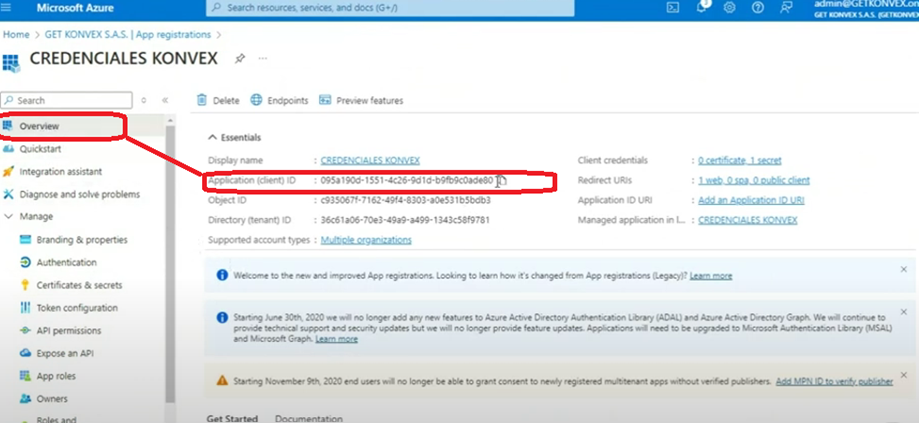
- Copy it and paste it into Business Central.
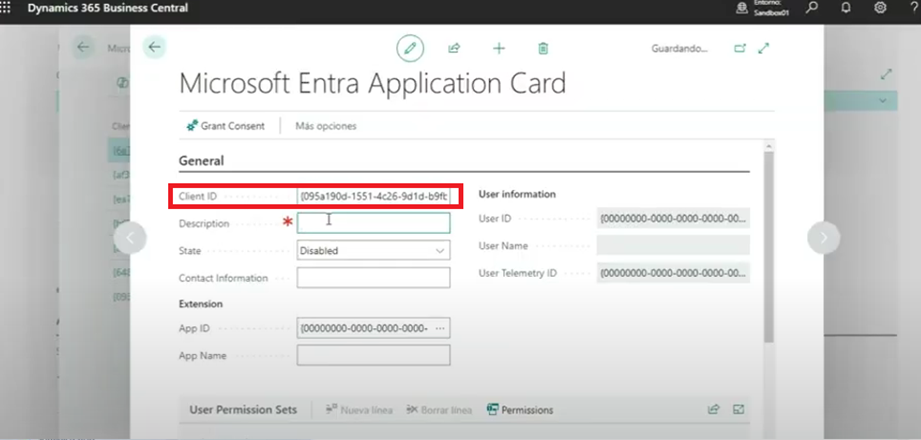
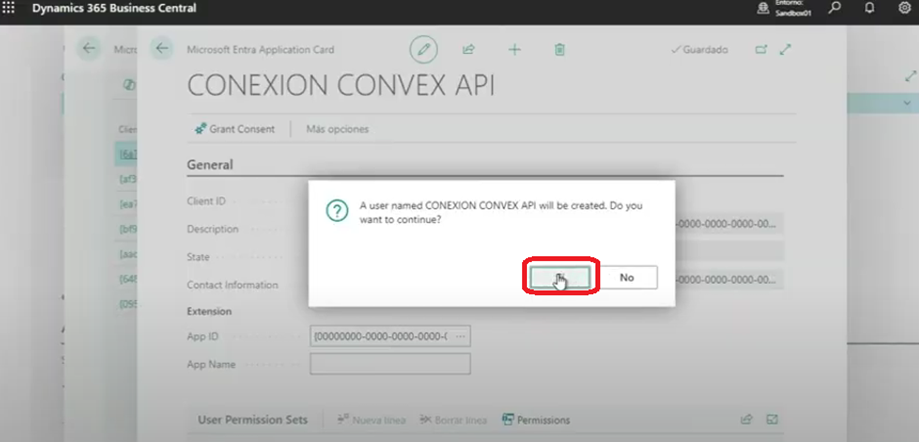
- Continue the registration. In Description, enter the desired name.
In State, enable the service.
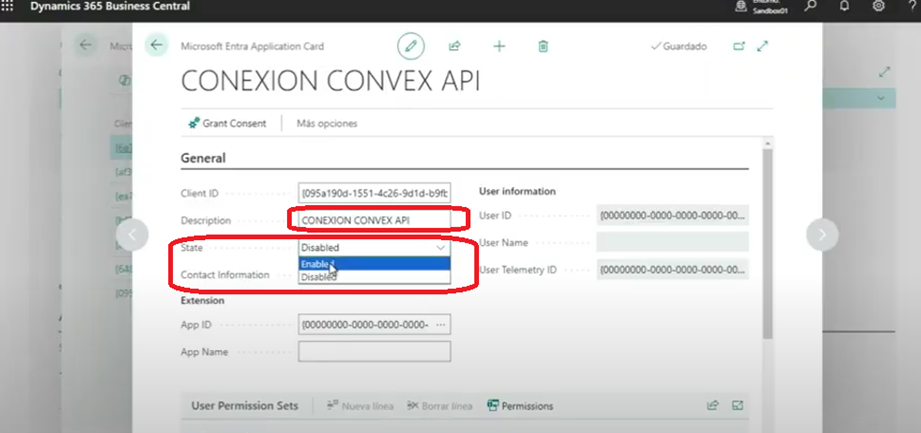
- Select Yes to confirm.
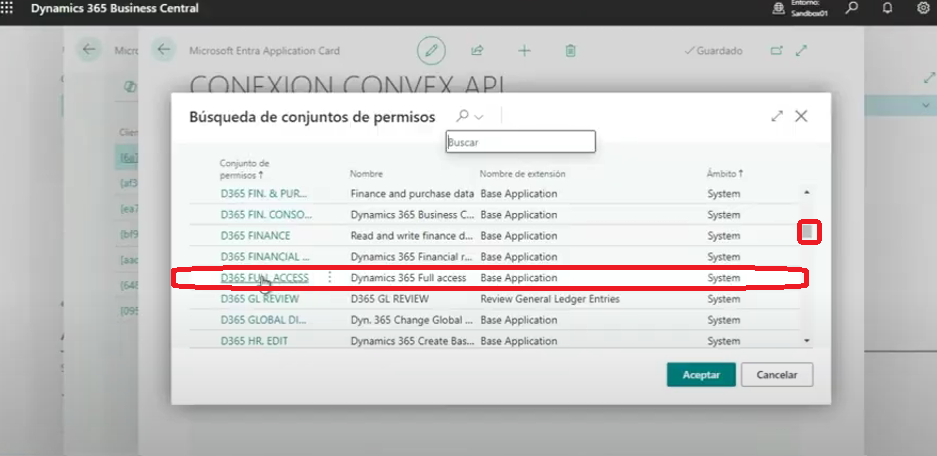
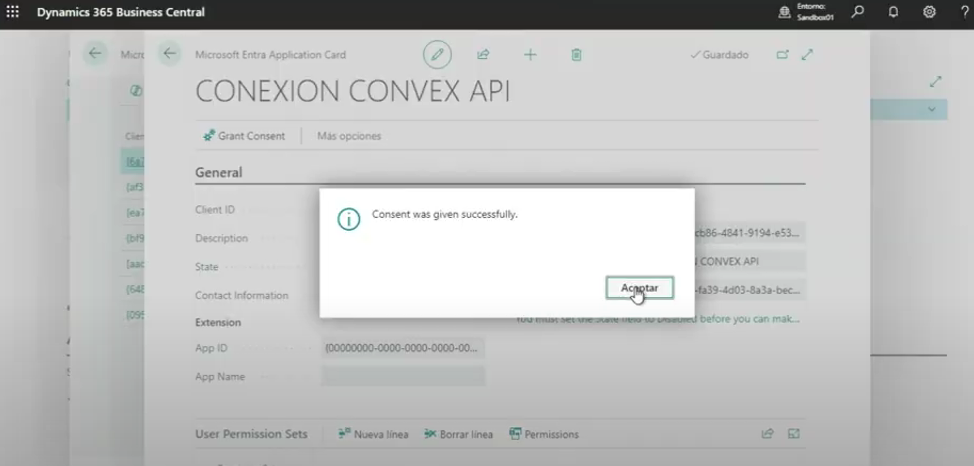
- Next, add permissions.

- In the selection menu, click the three dots and look for the option that indicates D365 FULL ACCESS.
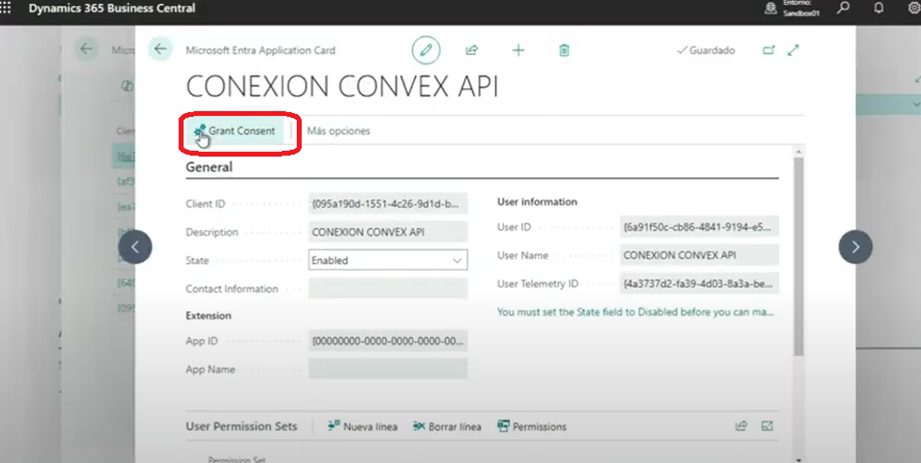
- A continuacion nos dirigimos a Grant consent
- Validate with your user credentials and password.
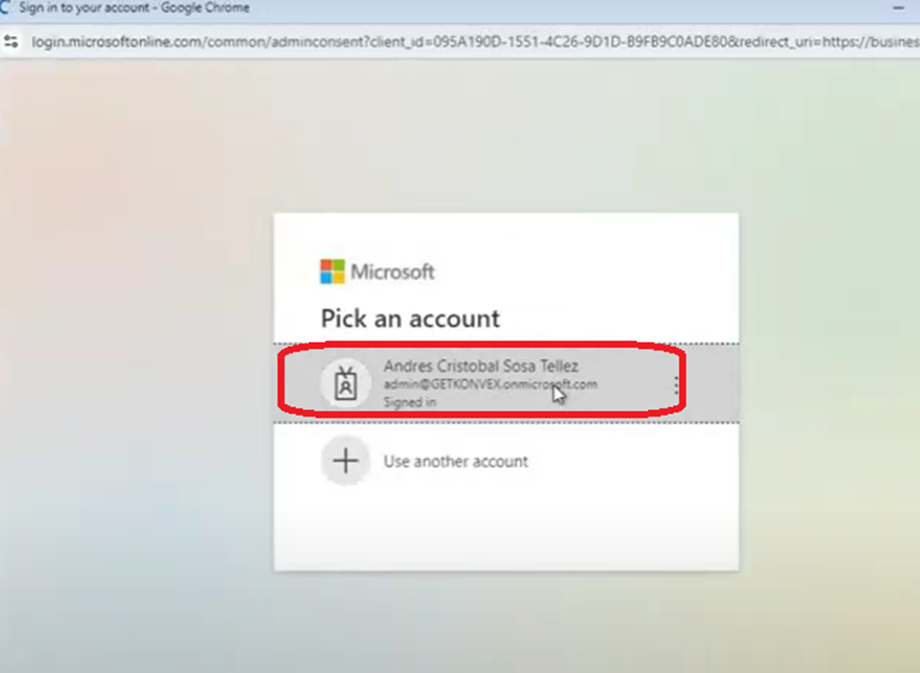
- Click the Accept option.
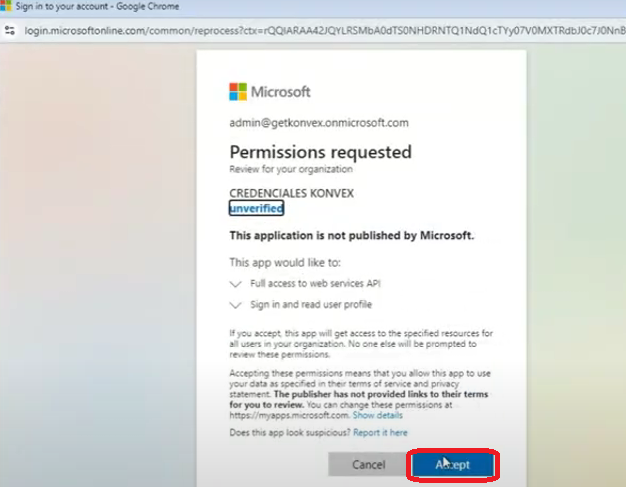
- Accep
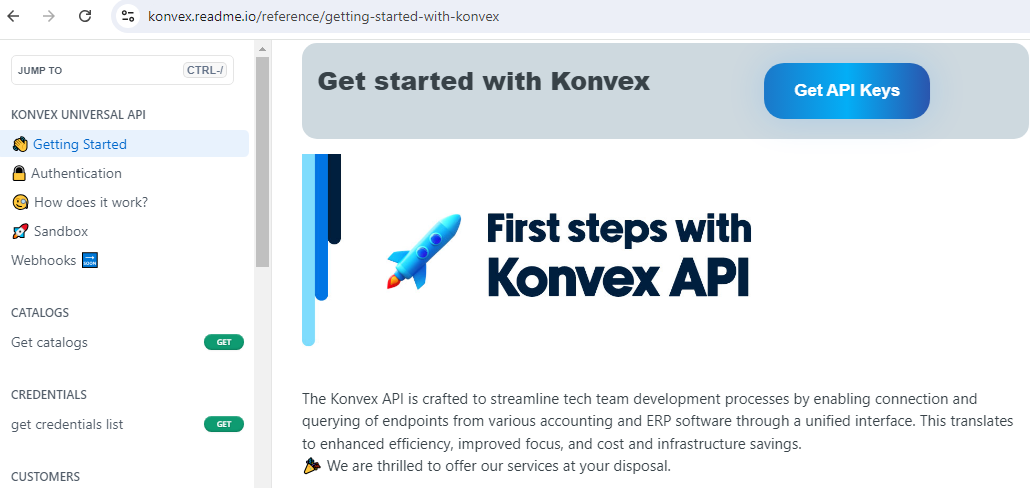
- To test the API, go to https://konvex.readme.io/reference/getting-started-with-konvex.
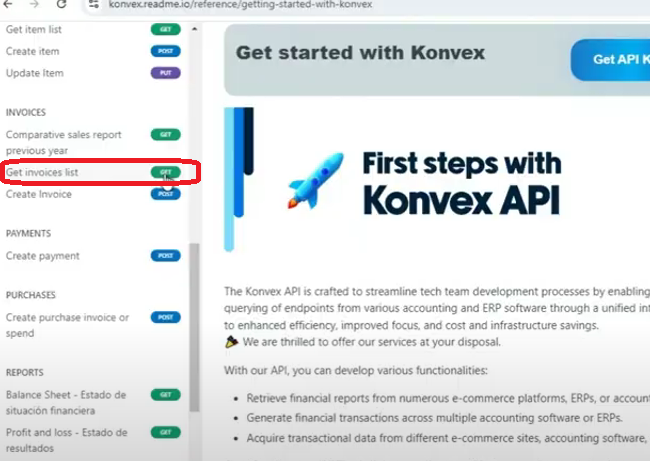
- Navigate to the option that indicates Get invoices List.
- Search for the option that says Business Central ERP.
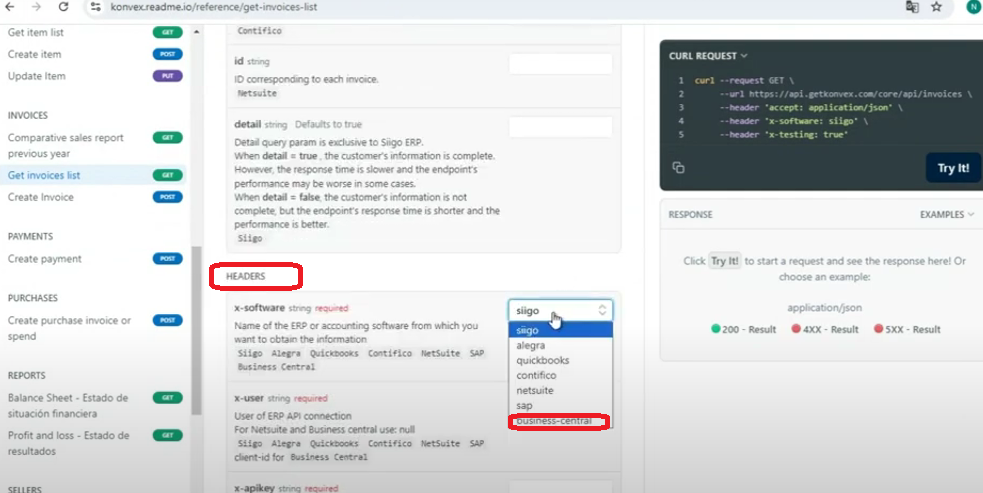
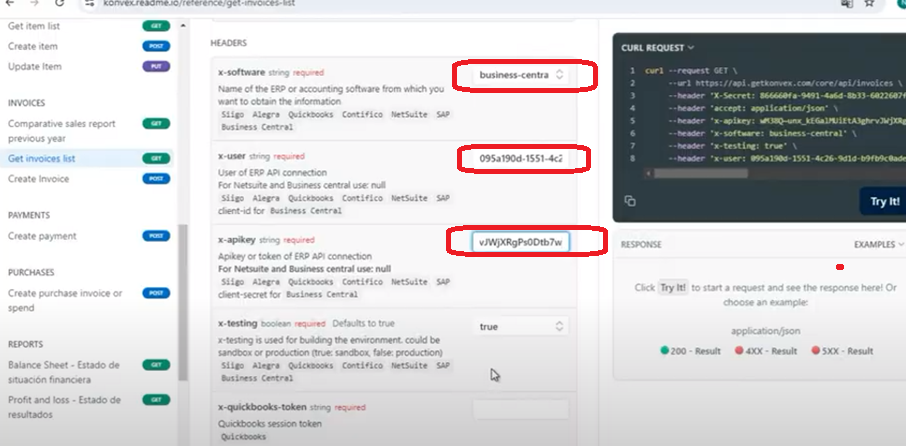
- Connection parameters for the query:
- Client ID
- Client Secret
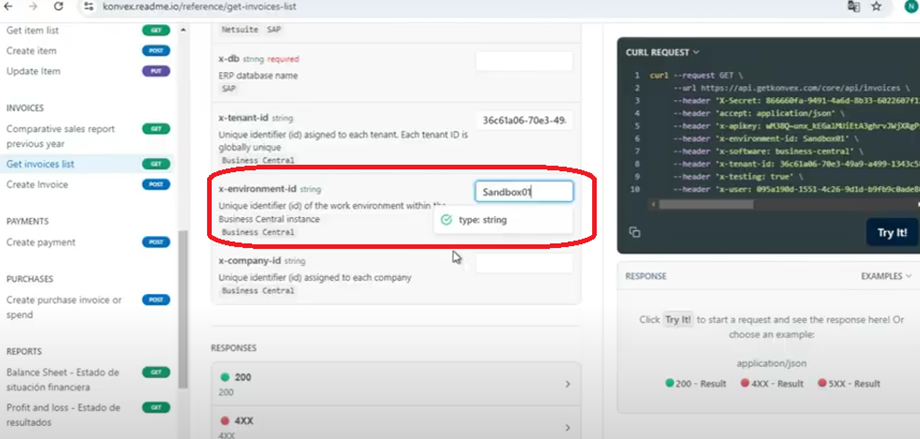
- You need to fill in the x-environment-id field.
Go to Business Central and select the environment. For example, Sandbox01.
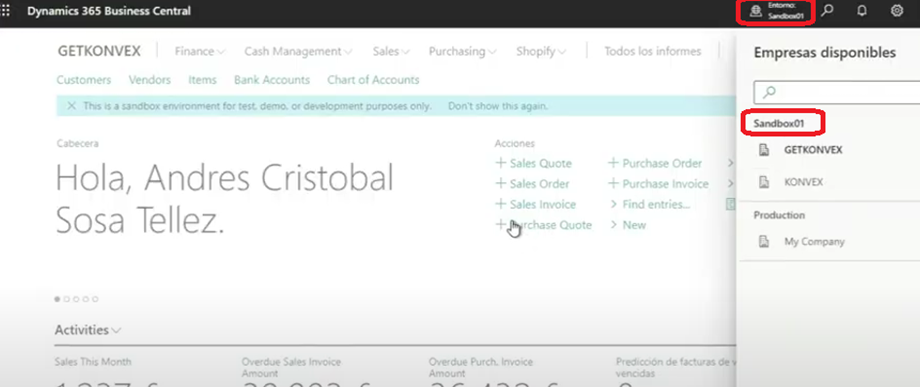
- You need to enter this information in the x-environment-id field.
- For the x-company-id field, go to Dynamics 365 Business Central and type Companies in the search bar.
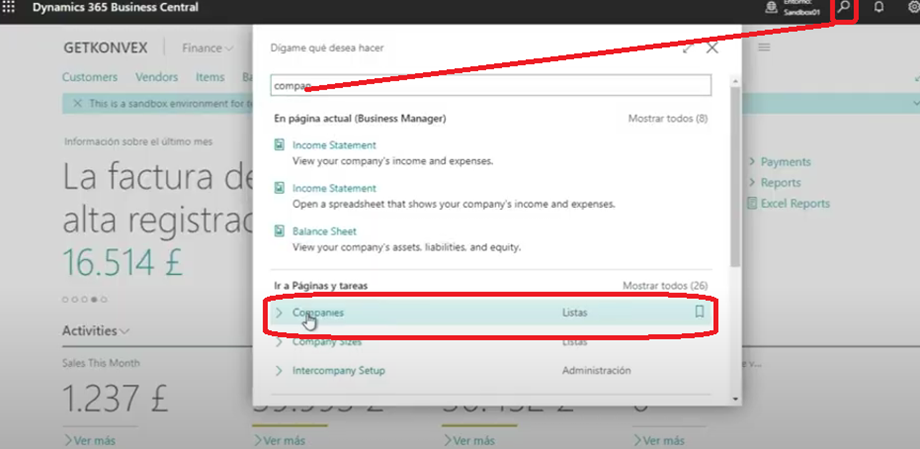
It will display the following screen:
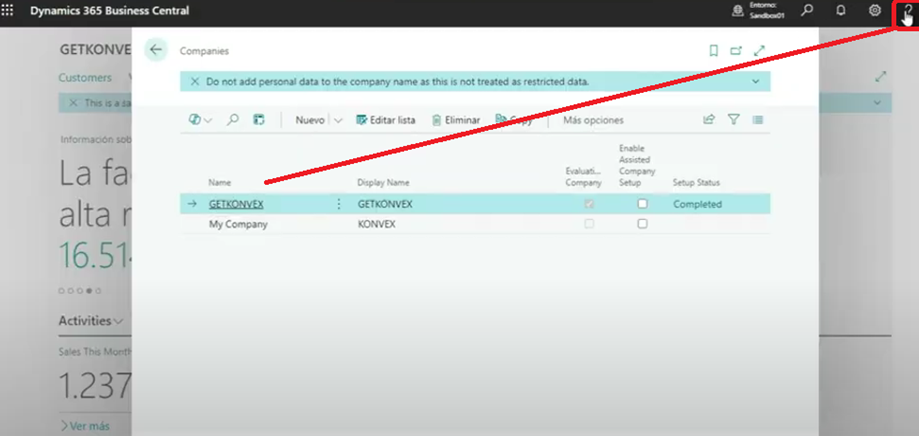
- A list of companies.
- Select the company you want to use.
- Copy the Company ID from this list.
Then, enter the Company ID into the x-company-id field.

- After that, click the question mark icon in the top right corner of the screen (in black).
- Go to Help & Support.
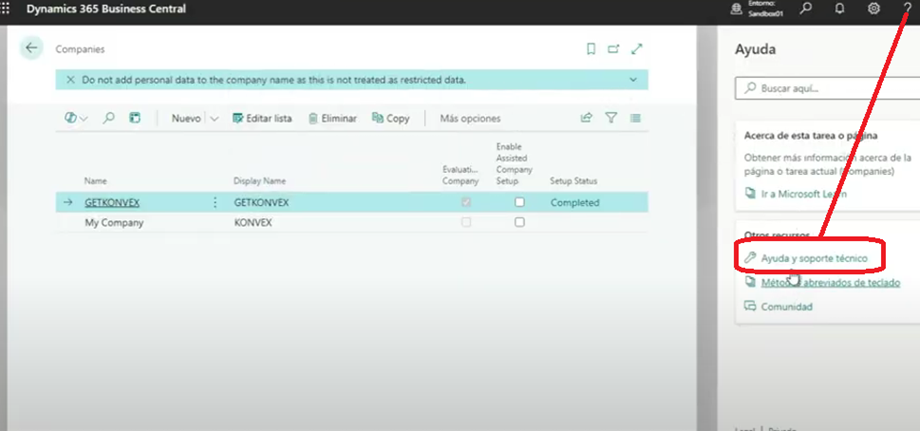
- Go to Inspect pages and data.
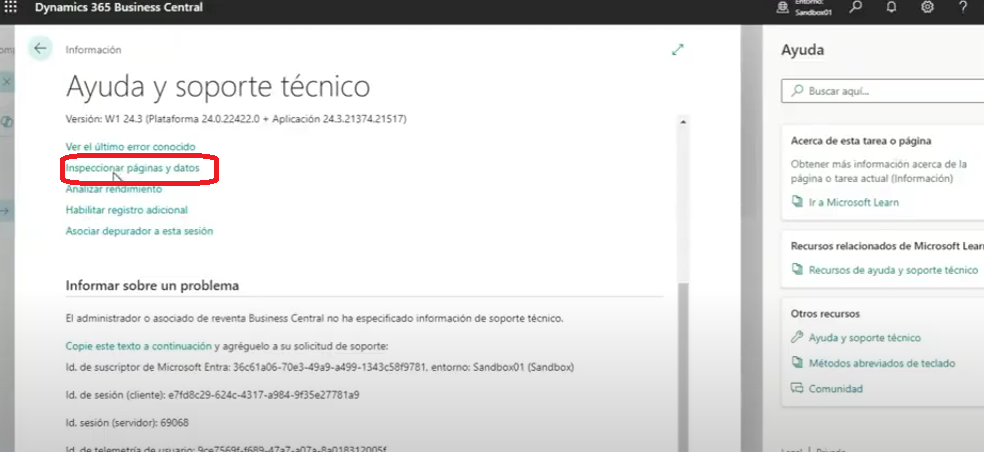
- On the right side, look for Company ID and copy the entry.

- Copy the Company ID and run the query.
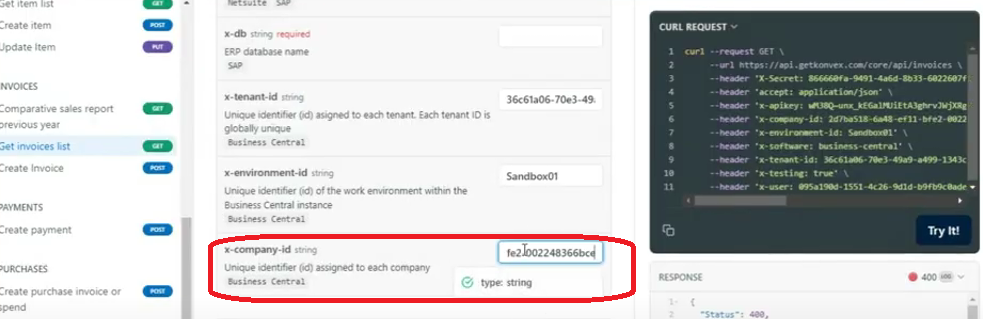
- Try It!

Updated almost 2 years ago