In this guide, we will explain in detail how to implement the Konvex API keychain using an iframe. Follow our simple steps to effectively and securely integrate this functionality into your project. With this integration, you can fully leverage the capabilities of the Konvex API keychain to enhance the management and security of your data.
Step-by-Step Guide to Implementing the Konvex API Keychain via Iframe
In this guide, we will explain in detail how to implement the Konvex API keychain using an iframe. Follow our simple steps to effectively and securely integrate this functionality into your project. With this integration, you can fully leverage the capabilities of the Konvex API keychain to enhance the management and security of your data.
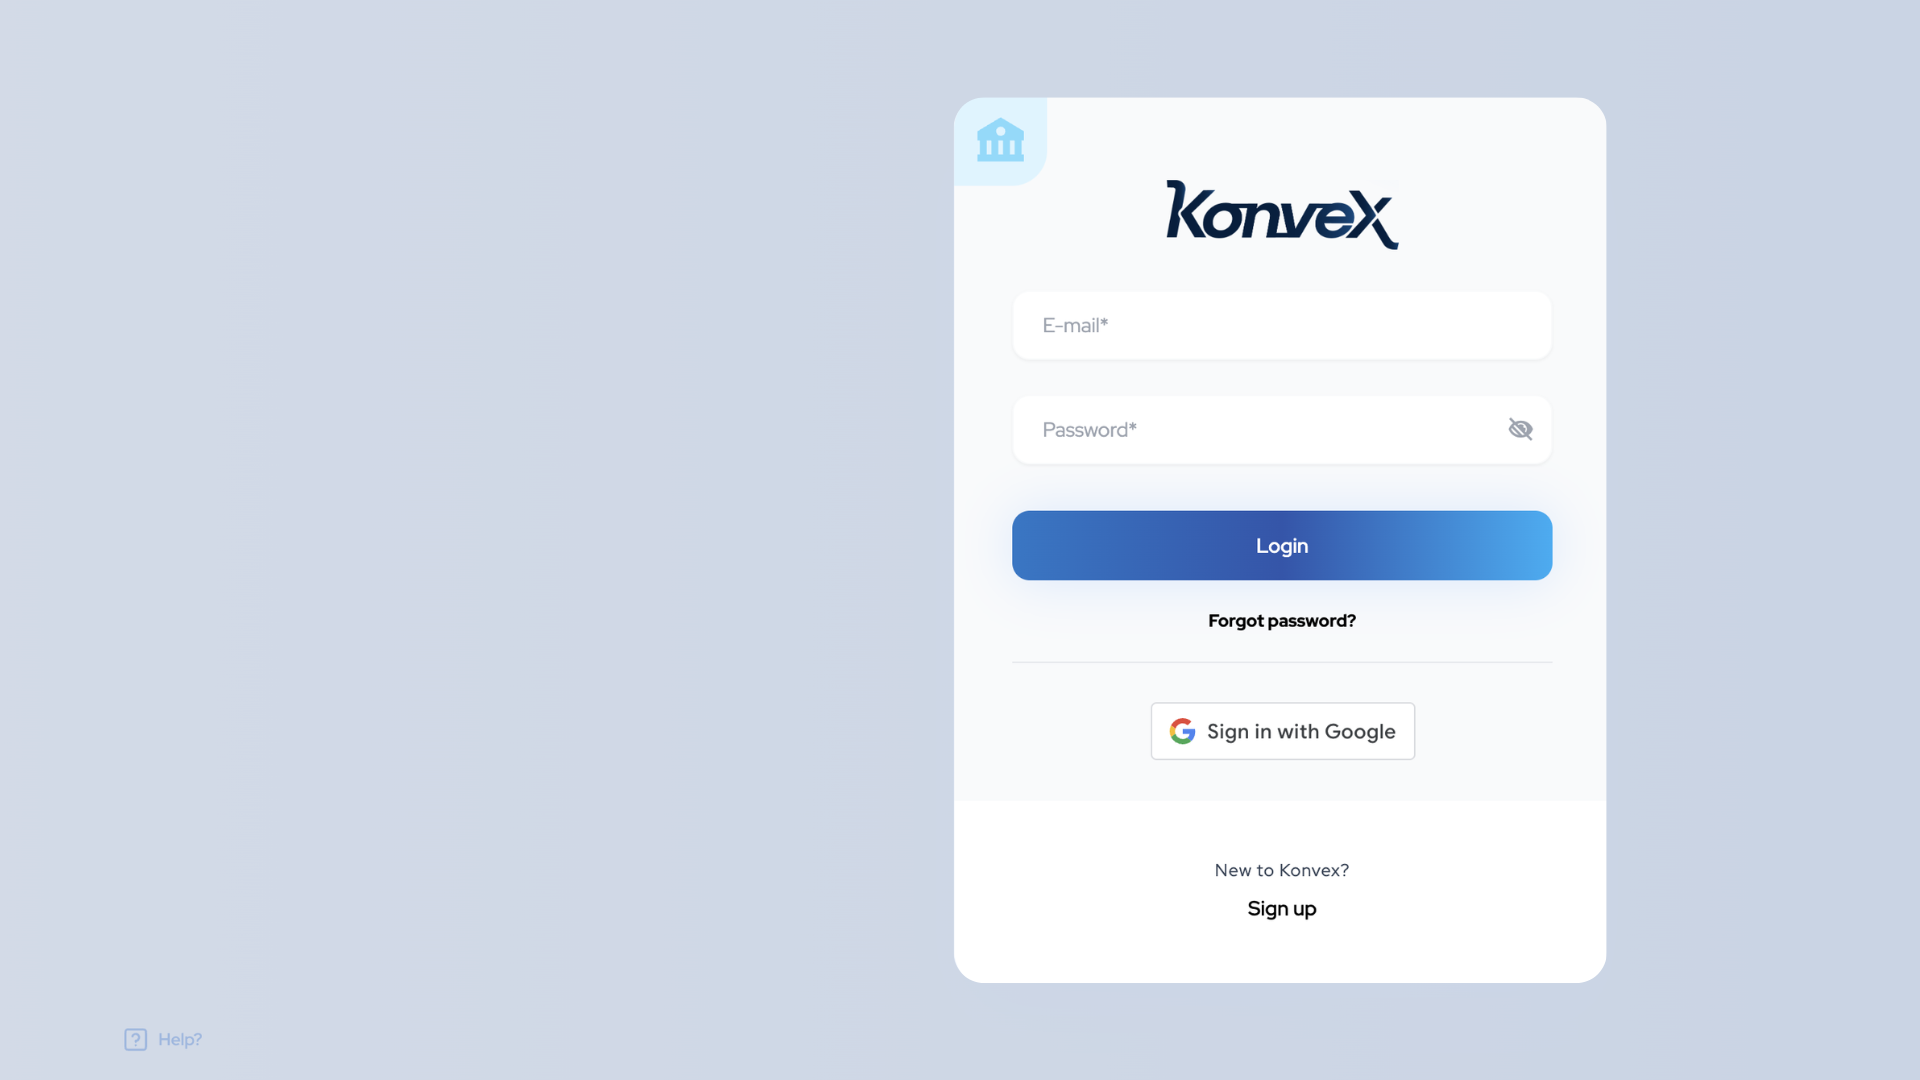
Step 1: Visit Our Service Portal
Go to our service portal, and either log in or create an account if you don't have one yet.
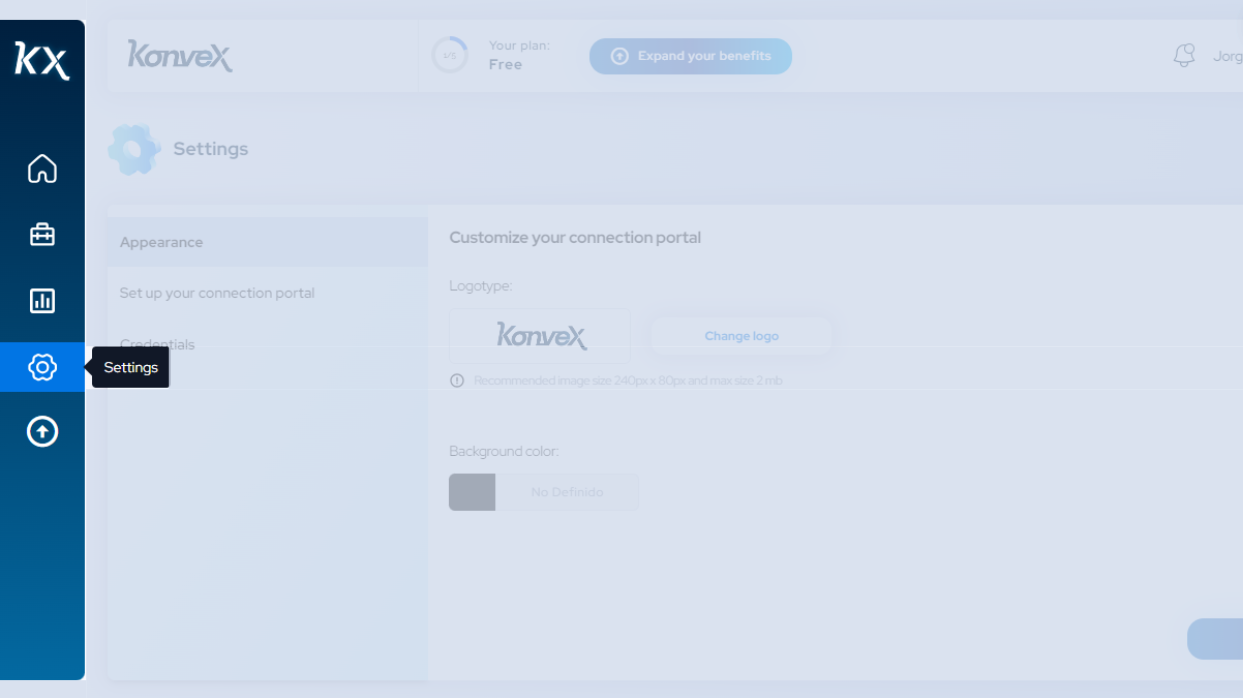
Step 2: Go to the Settings Section
Navigate to the settings section of your account.
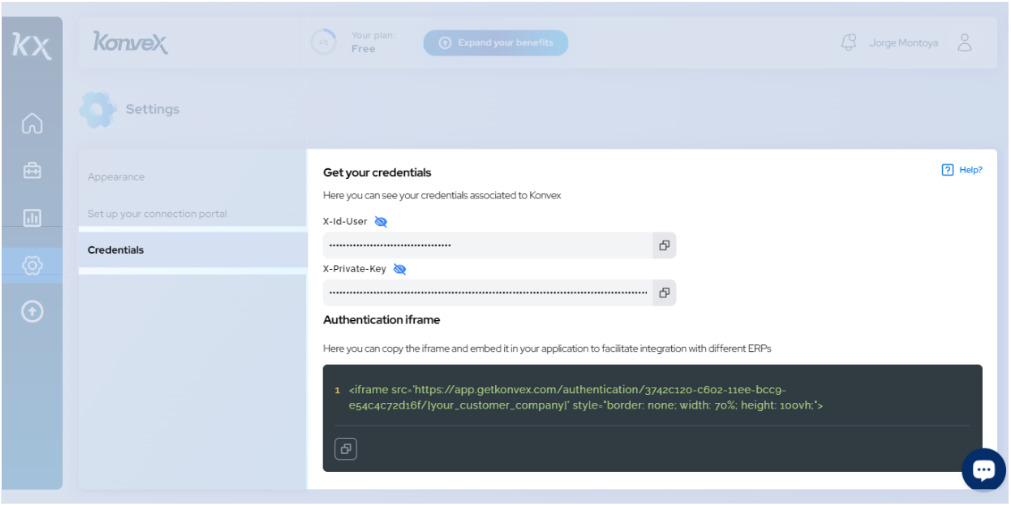
Step 3: Go to the Credentials Section and Copy the Iframe Code
Navigate to the credentials section and copy the iframe code provided. This code will already include your company ID. You only need to implement it and append the connection name your client will use, or by default, the client's email, to the end of the URL.
Example integration
<!DOCTYPE html>
<html lang="en">
<head>
    <meta charset="UTF-8">
    <meta name="viewport" content="width=device-width, initial-scale=1.0">
    <title>Konvex API Keychain</title>
</head>
<body>
    <!-- Insert iframe kovex api -->
  <iframe src='https://app.getkonvex.com/authentication/${company_id}/${put_your_customers_name_connection}' style="border:none; width:100%; min-width:400px; max-width:401px; height:95vh; position:fixed; right:0; bottom:0; z-index: 9999; margin-right:4px; margin-bottom: 3px;"></iframe>
</body>
</html>
Step 4: Integrate the Iframe into Your Website
Once the iframe is integrated, it will be available on your website as a button that will display the available integrations.

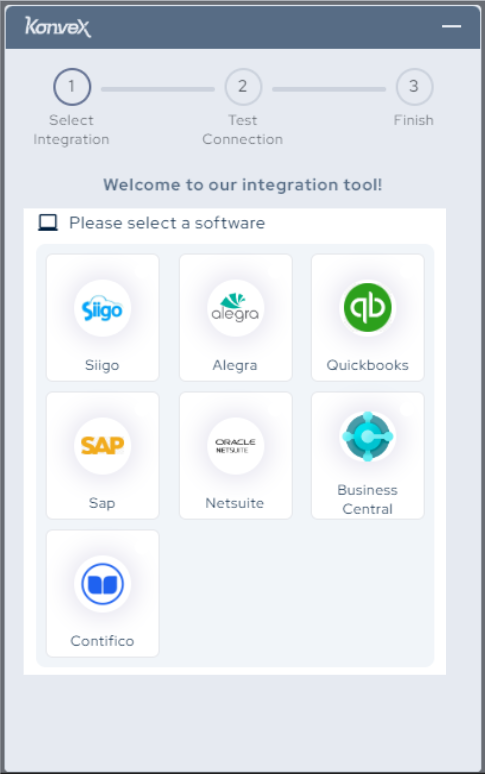
Step 5: Select Your Preferred Integration
Once you have selected your preferred integration, you will be directed to a form where you will be asked for the connection credentials, which will be stored for future use.
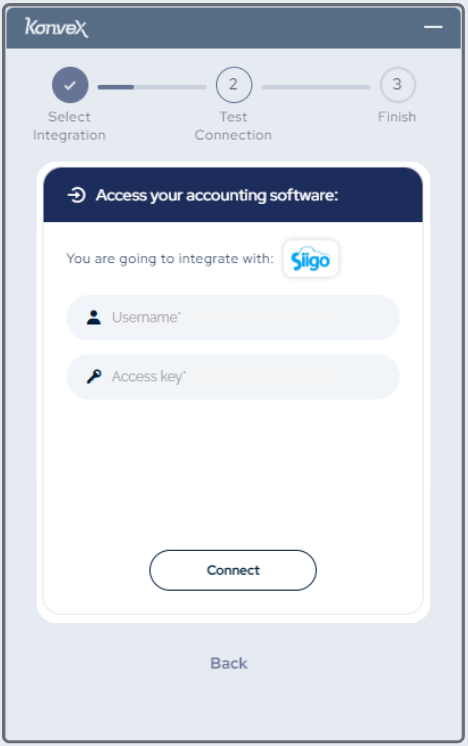
After entering your credentials, test them to ensure they are correct. Once validated, proceed to create the company.

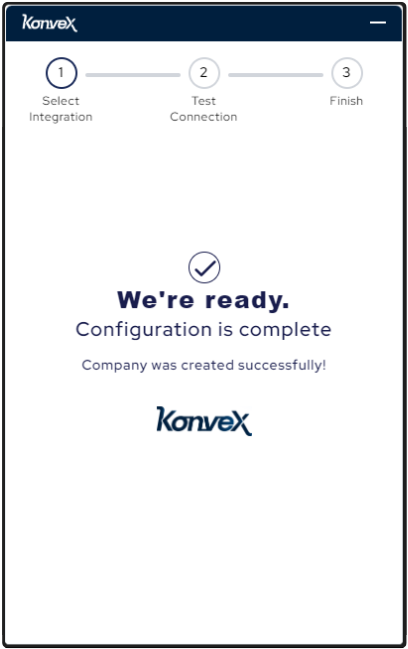
Step 6: View Created Companies
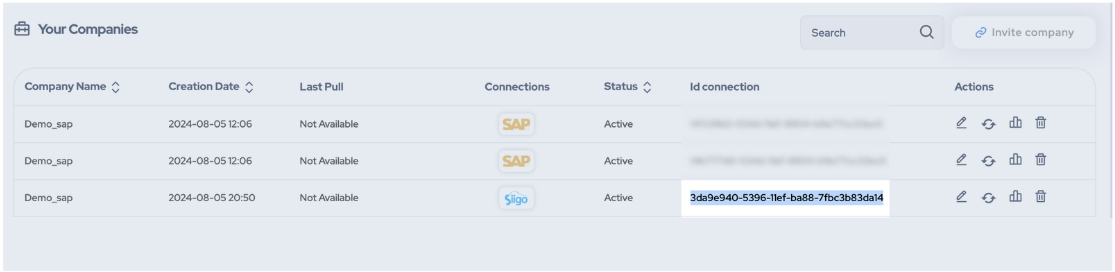
Once the connection has been created, go to the Konvex portal and navigate to the "Companies" section. You will see a table displaying the companies that have been created.
Step 7: Find and Copy the Connection ID
In the table, locate the company you created and copy the Connection ID.
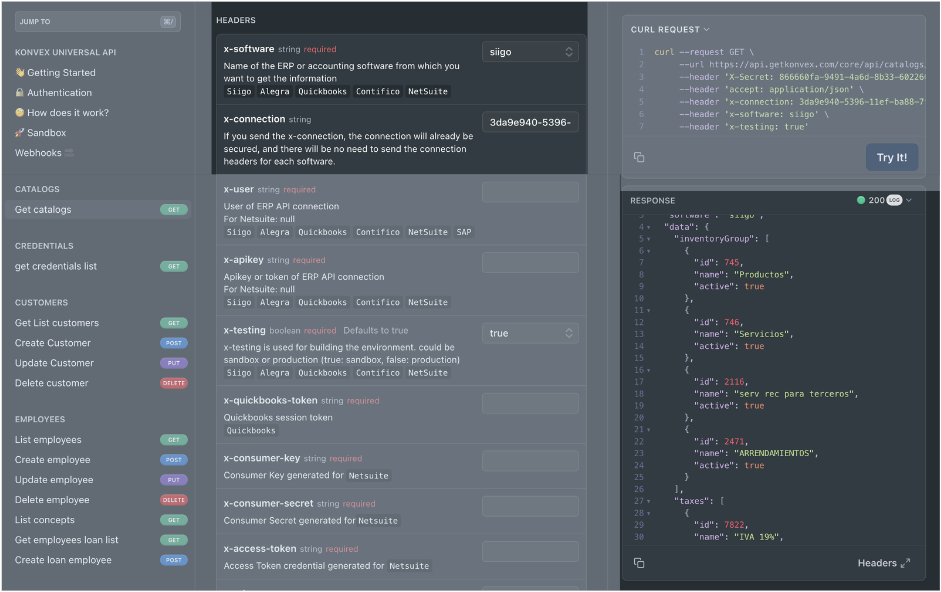
Step 8: Go to the Konvex API Documentation
Navigate to the Konvex API documentation and search for the endpoint you wish to access.
To access the endpoint, you'll need to include the following headers in your request:
-
x-secret: This is a combination ofX-Id-UserandX-Private-Key. -
x-software: This is the name of the integration you wish to access. -
x-connection: This is the Connection ID you copied earlier.